
Moda Blockheads 3
- Jenelle Kent
- Feb 2, 2021
- 3 min read

Updated: Feb 17, 2021
Happy New Year Everybody!
This is my first blog for 2021 and hopefully I will be doing many more.
I have just finished my quilt made with the blocks from Moda Blockheads 3. If you haven't heard about this, I will give you a quick summary.
Each week, for 56 weeks, a Moda designer has released a new Block pattern. They are available in 12", 6" and 4" finished sizes. The blocks are free and can now be accessed from the Moda blog. If you go to www.modafabrics.com you will be able to find them.

I chose the 12" sized blocks, because the toweling has quite a large scale stripe, so it would not have been appropriate in the smaller sized blocks; you would not have seen enough of the stripe.
I also made only 25 blocks. If I had made all the blocks I would have had enough for 2 quilts, and I didn't need that. I also chose the blocks, that worked best for including toweling. Blocks with lots of tiny pieces, create too much bulk in the seams for toweling, so I chose blocks that allowed me to showcase the stripes.
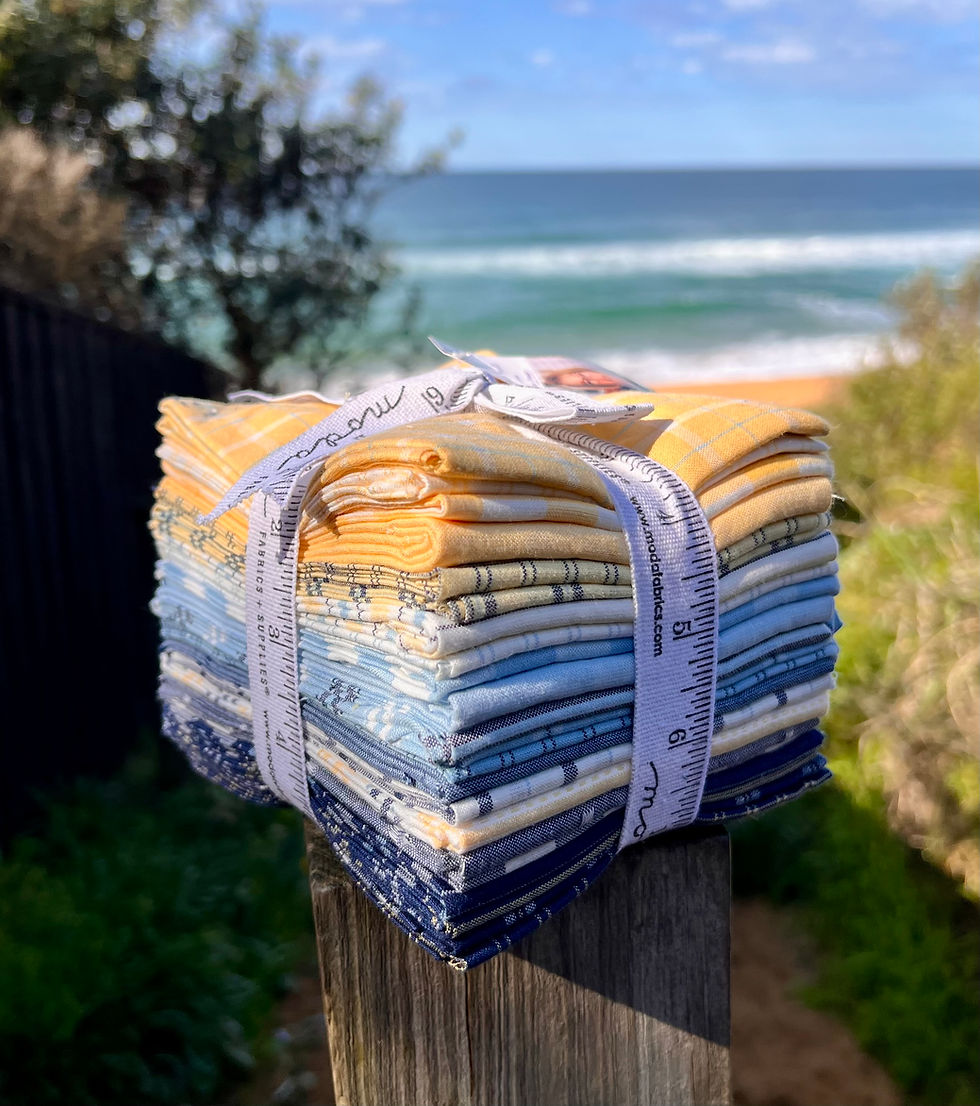
I used standard patchwork cottons for the other fabrics in the quilt. There is quite a few prints from Bonnie and Camille's 'At Home' range, plus a few Grunge backgrounds and assorted small prints.

I set myself the challenge of including Moda toweling in every block. Now, I love symmetry, so the stripes had to make a pattern themselves. They were placed in the block to create a symmetrical pattern or fussy cut so the stripes matched.
There is a video on my YouTube channel, Pieces to Treasure, that shows you how to fussy cut the stripes. Once you cut the first one, you then use that as the template to cut the number you need, exactly the same.
Putting the Quilt Together - Finished Size 84" square
I sorted the blocks into two groups. 13 blocks with lighter backgrounds and 12 blocks with darker backgrounds. Some could have been either so I just balanced them as best as I could.
Fabric requirements are:
22" (60cm) navy for block frames
26" (65cm) white for block frames
1 ⅔ yds (1.6m) of 60" wide toweling for borders
24" (60cm) navy for binding
5 yds (4.5m) 60" wide toweling for backing
The 13 blocks with light backgrounds had a 1 ½" wide navy border sewn around them. To do this I cut 18 strips 1 ½" wide then:
- cut into 12 ½" lengths (x2) and 14 ½" lengths (x2) for each block. 26 of each in total.
The 12 blocks with the darker backgrounds had white, tone on tone borders sewn around them. Cut 16 strips 1 ½" wide then:
- cut into 12 ½" lengths (x2) and 14 ½" lengths (x2). 24 of each in total.
Sew the borders onto each block. 12 ½" on opposite sides first then 14 ½" on remaining two sides.
Lay out the quilt blocks in 5 rows of 5, alternating the navy and white borders.
If you are making the quilt bigger or smaller, I suggest you use a odd number blocks in each row and an odd number of rows. That way, you will have dark framed squares in each corner. If you have an even number of blocks in the row you will have a dark border in one corner and a light one in the other. It can look a bit unbalanced.
Sew the blocks together in rows, then sew the rows together, matching the points at the corners.
The border is 7"wide strips of 60" wide toweling.
Cut 8 strips, 7" wide and join them together in pairs, so the stripe pattern is continued. I like to place two strips, right sides together, so the stripes match up. Then I sew down the centre of one stripe. It is important to sew on the same stripe for each pair of strips, so they are all exactly the same.

Trim off any excess and press the seam open. Make 4 pairs.
Place the borders on the quilt so the seam is in the centre of each side. Sew in place, starting and finishing ¼" from each corner, with a backstitch.
The mitre the corners. There are loads of tutorials on this but I plan to film one and add it to another blog, Because you have placed the seam in the centre of each side, and the seam is in the same stripe section, for each border, the stripes should match at the mitred corners.
Once the quilt top is finished, you can quilt it. I have chosen to use 60" wide Rock Pool toweling for the backing. Two 90" lengths, joined side by side, did the trick.
I bound the quilt in the same navy I used to frame the blocks.
Happy Sewing
Jenelle
Comments