
Blockheads 6
- Jenelle Kent
- Oct 14, 2025
- 3 min read

Cross Training - Block 20
We are well into Blockheads 6 and my block is titled Cross Training. It's a bit of a play on words. There are 4 crosses in the block; hence the "cross" part, and given there are 4 crosses, you will repeat the same process 4 times to create each cross. Just like repeating exercises in physical training. I had also just returned from a Cross Training session at the gym, when I had to name this block, so Cross Training seemed just perfect.

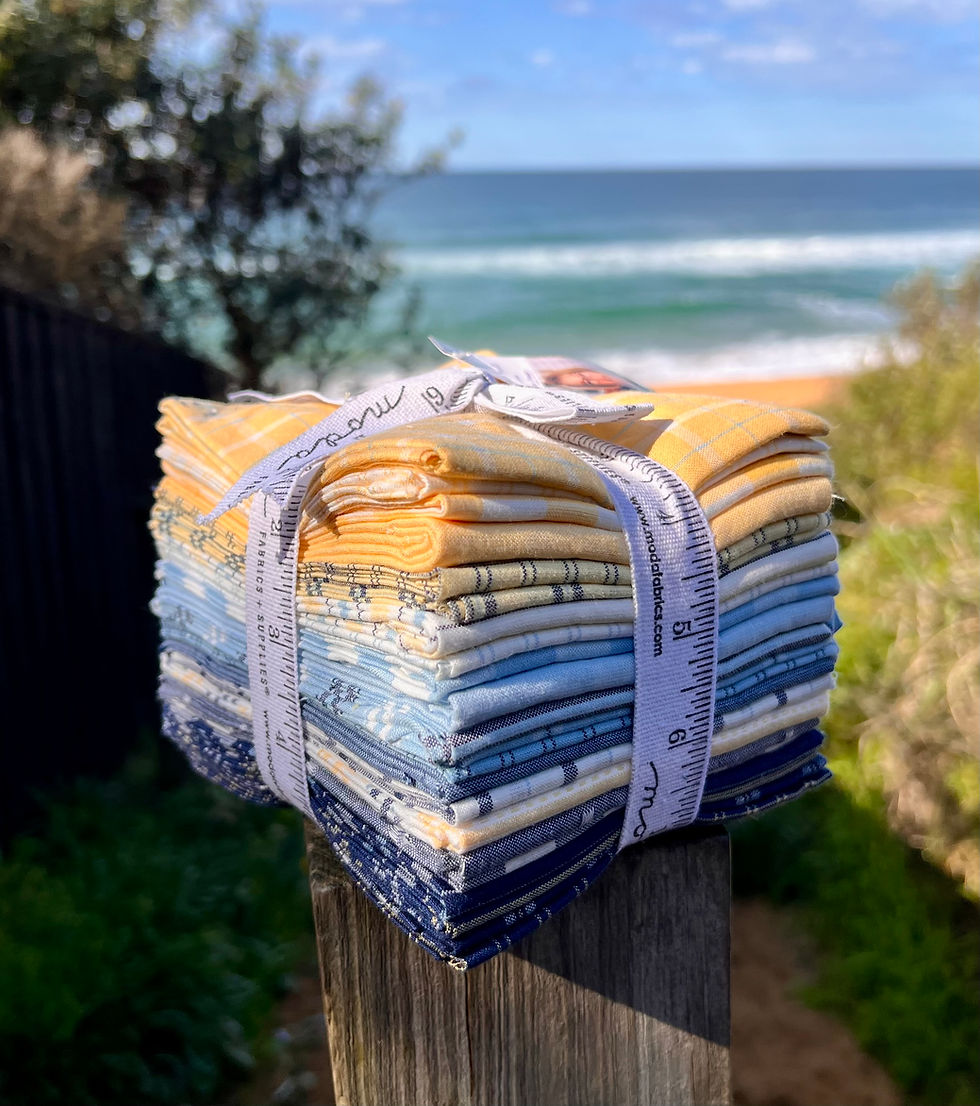
Here is Cross Training in 2 colourways. I have used some wovens that I design for Moda. The rusts are from my Vista line and the blacks are from Panache and the greens are from Vista. the prints are from a Primitive gatherings Fat 1/4 bundle I had in my stash.
I like to combine prints with wovens.
I have starched all the fabrics prior to cutting. The wovens are very silky soft, so they are much easier to sew with once they have been starched. I mix up powdered starch in a fairly strong concentration and immerse the fabric fully. I then wring it out and hang it on the clothesline to dry. They are then pressed with steam and are ready to cut.

You need to cut:
48 - 1 5/8" squares for the background
4 - 2 3/4" squares from 4 fabrics for the crosses
You don't have to use 4 fabrics, it is up to you.
You can see that 3 fabrics have the stripes running diagonally. I have a YouTube video showing you how to do this (see the link below), but I will also walk through it here on the blog.
This is not essential, I just like to experiment with stripes and checks and make patterns with them in my piecing. It just gives you options, if you want to make it a little bit fancy.


I cut a 2 3/4" square from the green fabric, then placed in on my stripe so the diagonally opposite corners line up perfectly in the centre of the black stripe.
I then use this square as a template to cut around. I lay the edge of my ruler on the edge of the green square and cut out the black and white striped square.
I then place the black and white square on the same fabric so the stripes match exactly. I then use this square as my template to cut around with a ruler.
I keep using the first black and white striped square as my template until I have cut 4 identical squares.

Here is the template square, lined up on the fabric, ready to cut from the green and white fabric.
As long as your 4 squares are all cut from the same section of stripe, you will be able to match the stripes to make a pattern.
The edges of the squares are now cut on the bias, and these are stretchy. If your fabric is heavily starched, this won't be a problem.

You need to decide if you want the stripes to run around in a diamond shape, or make an X shape, prior to sewing the background squares on.
The background squares are on 3 corners only, so I just add a dot with my Frixon pen to the corners that require a square.
This way I don't sew a background square on the wrong corners.
If you are just using print fabric or not trying make a pattern with stripes or checks, this step is not necessary.

You are going to sew stitch and flip squares to 3 corners of each 2 3/4" square.
I chain piece this to speed up the process and then snip the thread in between, once they are stitched

Pressing matters!
Make sure you follow the pressing arrows on the instructions.
This way your seams will nest up better and each section will be easier to piece.
Two squares have the seams pressed towards the larger squares, and 2 have the seams pressed away.


Layout your sections before sewing up each X.
I don't usually pin but sometimes it helps to pin the stripes so they match.
I press the final seam open, it just helps to reduce that bulky lump in the centre, where all the seams meet.
Remember, these tips are for using stripes in an unconventional way. You can just cut the stripes straight, like I have with the green pin stripe fabric. Maybe you are using prints, so this doesn't apply, but it is good to have some ideas and skills that give you options to try something different.
These tips will work with a directional print too.
I am looking forward to seeing your blocks on Facebook on the Moda Blockheads group.
As usual,
Happy Sewing
Jenelle
I enjoyed reading about the latest Blockheads project and seeing how each block encourages creativity while helping quilters build new skills step by step. I remember working on a detailed university project, and I had used cheap law dissertation writing service while trying to organize my research and meet a tight deadline. It reminded me that patience and careful planning are important whether you are creating a quilt or completing academic work.
Appreciating this engaging post it highlights creativity and storytelling in a very relatable way, showing how ideas and expression can connect different perspectives meaningfully. The discussion feels natural and easy to follow, making it enjoyable for readers. In a similar way, people also seek personal insights and clarity through services like best psychic reading in san diego where interpretation and understanding help individuals reflect on different life situations and decisions more thoughtfully.
Appreciating this insightful post it beautifully shows how storytelling and creativity continue to shape online engagement and community interaction in meaningful ways. It highlights how shared experiences help audiences connect and learn. In the same digital space, many businesses rely on best social media marketing companies to improve strategy, boost visibility, and strengthen audience engagement across platforms for better overall performance and growth.
Blockheads 6 looks like such a fun concept honestly, the building and survival mix never gets old. I remember spending hours on games like that just losing track of time completely. It actually reminds me of how creative people really are, whether in gaming or storytelling. Speaking of which, if any of you are sitting on a game idea or story, connecting with the right book publishers can genuinely help bring that world to life beyond the screen.
Appreciating the detailed breakdown of Blockheads 6 and the creativity behind each design. It really shows how community-driven projects bring ideas to life in fun ways. For Professional ghostwriting content like this is a great example of how structured storytelling and clear explanations can keep readers engaged while maintaining consistency, clarity, and a strong narrative flow throughout the blog.